From Local to Live: Deploying Your Vibe-Coded Website

Welcome back, vibe coders and curious minds! We've come a long way in our journey – from planning to code generation, and now we're at the final frontier: deployment. This is where we take our locally-running, AI-assisted creation and unleash it upon the world. Buckle up, because this part of the journey had its fair share of twists and turns!
- Pre-Flight Checks
Before we could even think about deployment, there were a few housekeeping items to take care of:
- Fixing UI and layout issues (those pesky icons that wouldn't display)
- Addressing image responsiveness
- Removing any redundant sections
Pro tip: Always do a thorough check of your site before deployment. What looks fine locally might behave differently in production.
- Choosing Our Launchpad
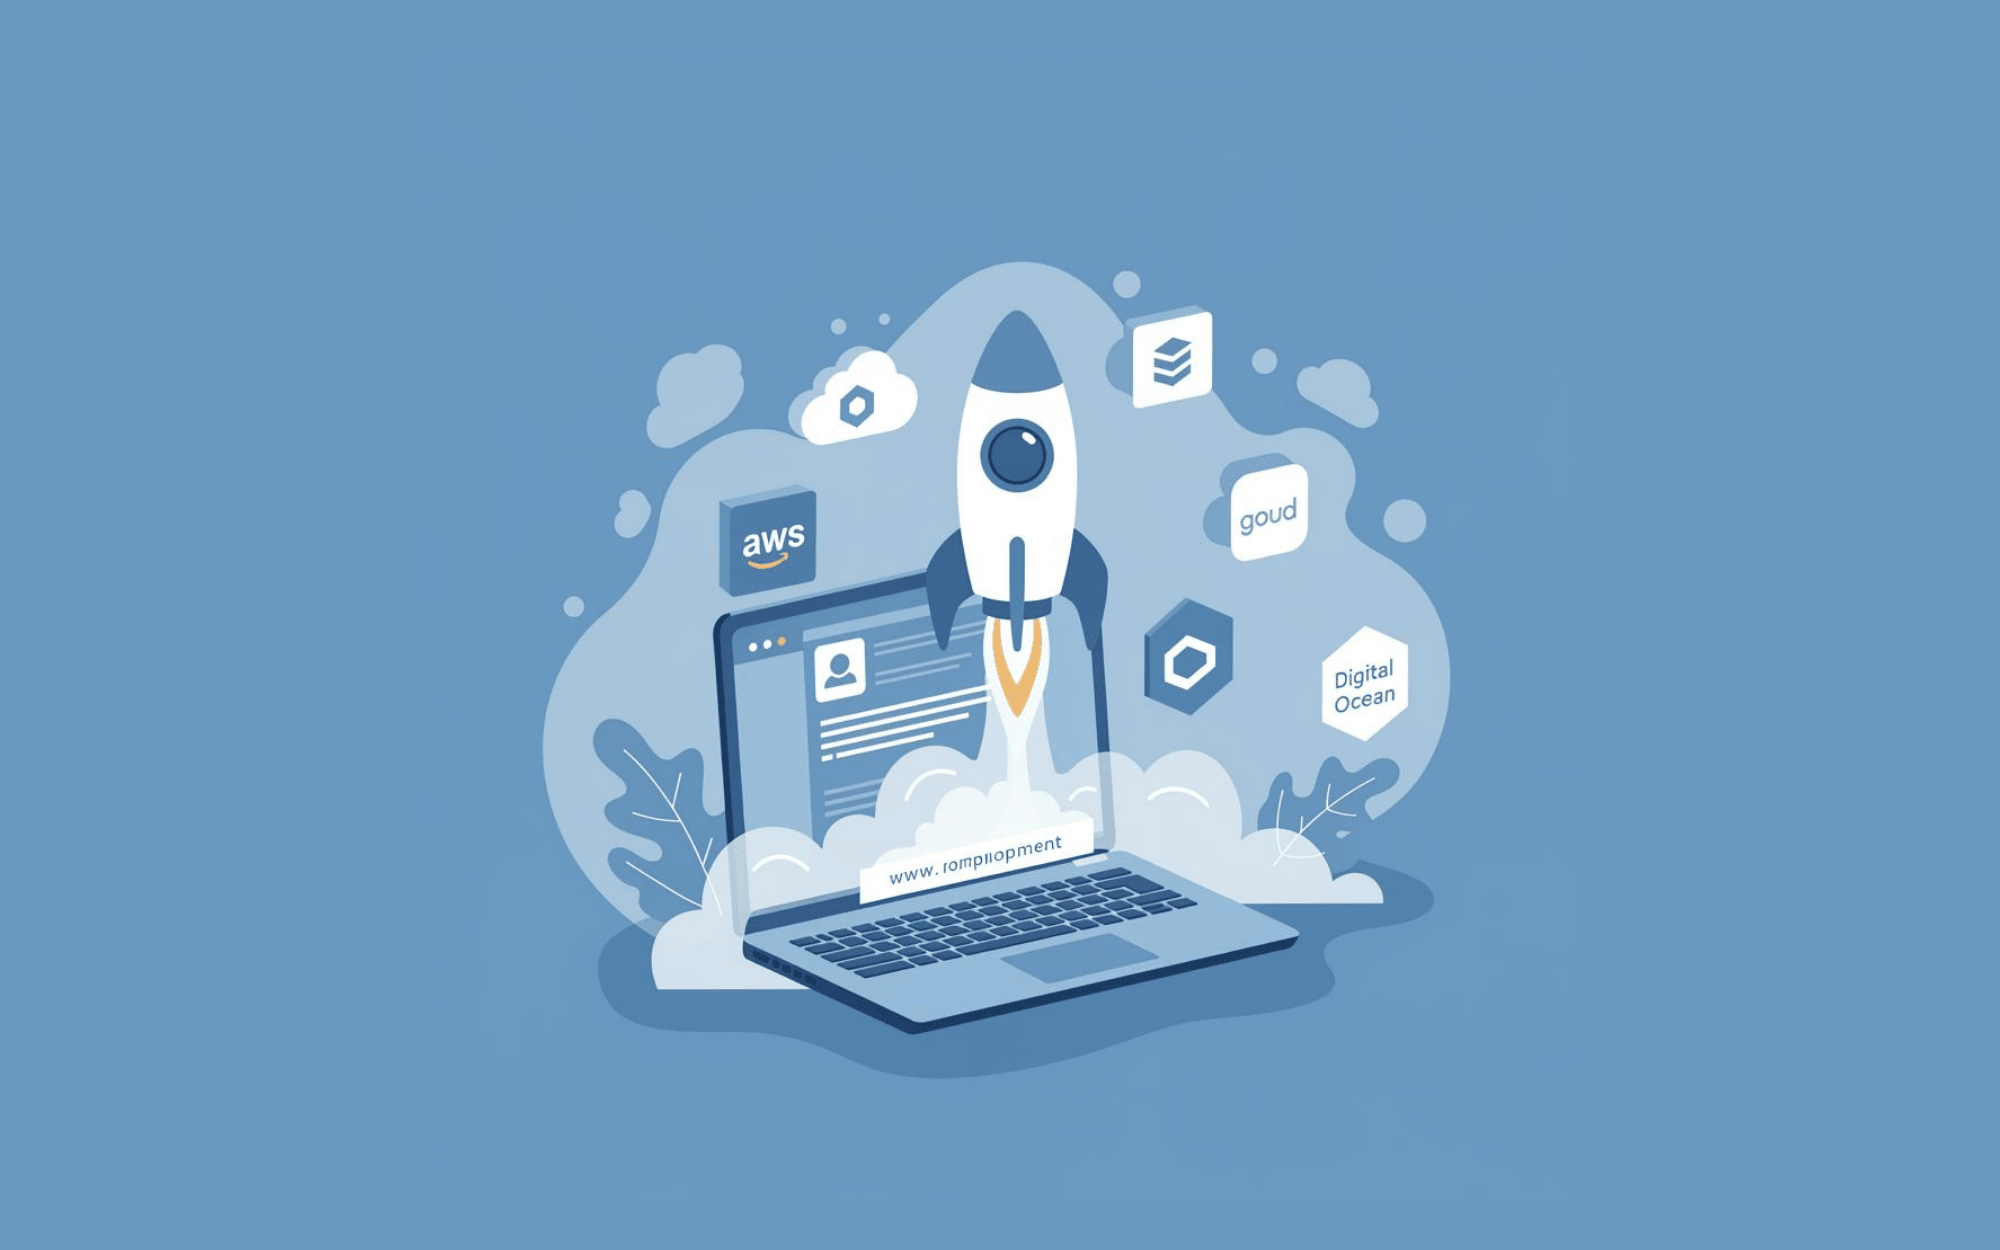
Initially, I had my sights set on Google Cloud Run for deployment. I asked Claude Sonnet for detailed steps, and it provided a Dockerfile and Nginx config file, along with instructions to install Google Cloud SDK. Sounds straightforward, right? Well... - Houston, We Have a Problem
As I was configuring Docker to use Google Cloud credentials, I hit a snag. My hard drive ran out of space mid-configuration. After clearing some space and retrying, the issue persisted. Even after an hour of troubleshooting with Claude, I had to make a tough call and pivot our strategy.
Lesson learned: In the world of vibe coding (and tech in general), always be prepared to adapt when your initial plan doesn't work out.
- Plan B: All-in on GCP
Switching gears, I started a fresh conversation with Claude Haiku, aiming for an all-GCP solution. It suggested using Google Cloud Storage Bucket as our code repository. Great idea in theory, but in practice? Not so much. After hours of trying to make it work and running into permission issues, it was time for another pivot. - The Manual Approach
In a moment of "let's just try this," I decided to manually upload my code to the GCS bucket. It worked! But then came another roadblock – I couldn't set the buckets to public. Even creating a new project on GCP didn't solve the issue. - The Final Pivot
At this point, I asked Claude Haiku (as I ran out of Poe credits for the day) for alternatives. It suggested several options:
- Google Cloud Run (our original plan)
- Google App Engine
- GitHub Pages
- Third-party hosting services like Netlify, Vercel, or Firebase Hosting
As a non-programmer, I won't say that I had enough knowledge to decide which option was better. So, of course, I asked Claude to compare these options and give me the pros and cons. After weighing the pros and cons, I chose Firebase Hosting. Why? I had some prior experience with it from another personal project. Sometimes, familiarity is your best friend in tech projects.
- Smooth Sailing (Finally!)
With Firebase Hosting, things finally fell into place. Claude provided step-by-step instructions to initialize the project, build, and deploy. And you know what? It worked like a charm. The website was deployed smoothly, and I also managed to add my custom domain by updating the DNS records. It felt amazing to type "schoolofdream.com" in Chrome and opened up my website in less than 30 hours. - Post-Deployment Tweaks
Once the site was live, I didn't just sit back and relax. I added Google Analytics and Search Console using Google Tag Manager. Having full access to the code made this process a breeze. - The Unexpected (but unsurprising) Visitor: A Bug
Two days after going live, I discovered an issue with the contact page not rendering properly in production environment (but it was perfectly fine in the development environment). I keep asking Claude Haiku for assistance during debugging, but it didn’t quite get me anywhere. So, at the end, I tried removing the code of each section one by one, aiming to narrow down and identify the culprit. At first, i thought it was caused by the Google Form iframe embedding. Turned out it wasn’t the cause. This led to a two-hour debugging session, and finally I found the root cause! It was caused by the “@“ of the email address. In normal cases, this should not cause any problem. But because I was using i18n to handle bilingual support, this special character in the i18n language JSON file caused an issue. where I learned a valuable lesson about special characters in i18n language JSON files. (Suddenly I remembered I made the same mistake about 2 years ago in my work project, and it caused by developer half a man-day to find the root cause due to my mistake. Seems like I didn’t learn the lesson very well and now I had to learn it again) So guys, remember: always do a sanity check in the production environment after deployment!
The Big Picture
In total, this project took about 28 hours from start to finish and the time spent on the three main areas are roughly like this:
- 1/3 on building and deploying
- 1/3 on content creation (copywriting in two languages and image work)
- 1/3 on debugging
Was it always smooth sailing? Definitely not. But each challenge taught me something new about web development, AI assistance, and problem-solving.
Key Takeaways for Fellow Non-Programmers:
- Be prepared to pivot your strategy when things don't go as planned. (That's the spirit of agile methodology)
- Familiarity can be a huge advantage – don't be afraid to fall back on tools you know.
- Always, always test your site thoroughly before and after deployment. (Which I didn't do in this POC project)
- Debugging is part of the process – embrace it as a learning opportunity.
The Final Verdict
So, did vibe coding live up to the hype? Absolutely! While it's not a magic wand that eliminates all challenges, it's an incredibly powerful tool for non-programmers looking to bring their web ideas to life. With some basic IT knowledge, a willingness to learn, and a healthy dose of perseverance, you can create something truly impressive.
What's Next?
Now that we've gone through this journey together, I'm excited to share more insights on how to streamline this process and make it even more efficient. In our final article of this series, we'll recap the entire experience and discuss how you can apply these lessons to your own vibe coding projects.
Are you feeling inspired to embark on your own vibe coding adventure? Remember, every expert was once a beginner. With the power of AI assistance and a bit of determination, you can create amazing things.
Want to stay updated on the latest in AI-assisted development and get more insider tips? Don't forget to subscribe to my newsletter. I'll be sharing more insights, tricks, and lessons learned to help you navigate the exciting world of vibe coding. Trust me, you won't want to miss what's coming next!
Read the next article of this series: Vibe Coding: Lessons Learned and Future Possibilities


